
Nice Tower · Practical design guide
Image to 3D Modeling: Powerful AIM Guide 2026
Image to 3D modeling with SUAPP AIM turns a visual reference into an exploratory asset for SketchUp. Learn to prepare the image, inspect generated geometry, correct scale and organize the checked object before repeating it in a scene.
On this page
SUAPP AIM is an AI modeling tool that converts a 2D image or text prompt into a 3D model. Its SketchUp version can help architects, interior designers, and 3D artists turn a reference image into editable geometry faster, then refine the result inside SketchUp.
Useful Image to 3D workflows
- Convert a reference photo into a starting 3D model
- Explore early architectural massing from a concept image
- Create a base object for interior-design visualization
- Reduce repetitive manual tracing during concept development
Image to 3D: what is SUAPP AIM?
SUAPP AIM is part of the SUAPP AI product ecosystem. According to the official product information, AIM can generate 3D models from images or text and integrates with SketchUp and other supported 3D applications. The generated model should be treated as a starting point: proportions, topology, scale, materials, and component organization may still require manual review.
This makes the tool most useful during concept development, reference-based modeling, visualization studies, and other workflows where producing an initial form quickly is more important than receiving construction-ready geometry automatically.
How to Convert an Image to a 3D Model
Image to 3D: SUAPP AIM video tutorials
Select a tutorial below. To improve mobile performance, YouTube loads only after you press the play button.
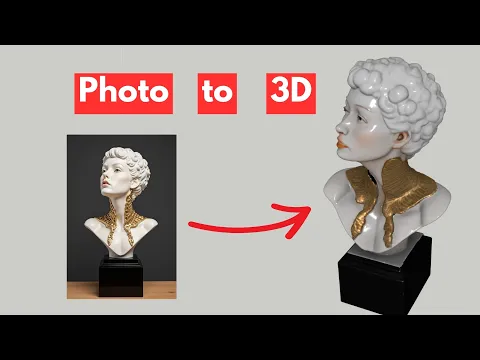
Image to 3D Modeling with SUAPP AIM
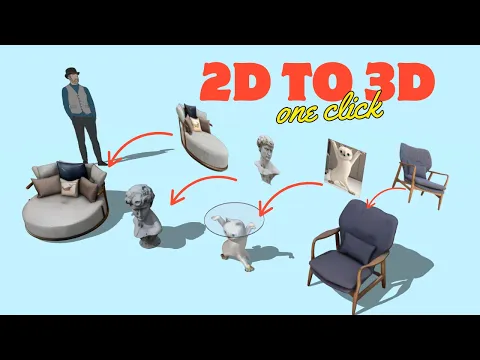
AI Image-to-3D Workflow for SketchUp
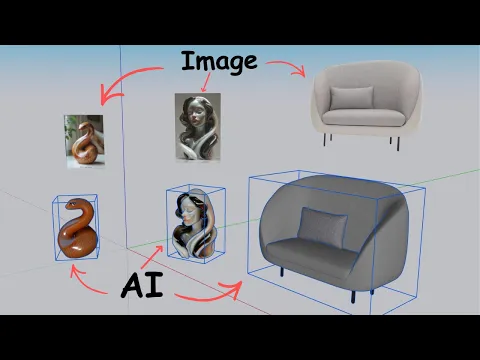
Concept Image to SketchUp 3D Model
Image to 3D: tips for better results
- Use a sharp source image with the main object clearly separated from the background.
- Avoid references with several overlapping objects when you need one clean model.
- Check dimensions and scale instead of assuming the AI output is accurate.
- Inspect hidden faces and complex areas before using the model in a final project.
- Reduce unnecessary geometry before adding detailed materials or starting a render.
Image to 3D: related SketchUp resources
Image to 3D: frequently asked questions
Can SUAPP AIM convert an image to a 3D model?
Does SUAPP AIM work with SketchUp?
Is SUAPP AIM free?
Is the generated model ready for a final project?
What type of image produces better results?
Turn Your Reference Image into a SketchUp Model
Try the official SUAPP AIM workflow, then refine the generated geometry in SketchUp for your design or visualization project.
Affiliate disclosure: NiceTowers may earn a commission if you purchase through our affiliate link, at no extra cost to you.
Image to 3D Modeling: reference and scale checklist
For image to 3D modeling, choose a reference that shows one object clearly. A furniture photograph with a simple background is easier to evaluate than a complete decorated room with overlapping objects. Prefer a view that reveals the front, a side and the main supports. Keep the source image available after generation so the silhouette and proportions can be compared objectively.
Image to 3D modeling infers depth that the photograph does not show. The rear surface, hidden legs and internal construction may be approximate. Treat the first model as a starting asset, not a measured replica. If additional reference views are available and the current tool accepts them, use consistent photographs of the same object rather than mixing different product variants.
After image to 3D generation and importing into SketchUp, place the asset in a separate group and measure a recognizable dimension. Scale it against your project units before adding copies. Inspect the underside, rear face, thin edges and contact with the floor. A model that looks correct from the reference angle can still have holes, intersecting parts or unnecessary detail elsewhere.
Review materials and the number of faces before repeating the object across a scene. Keep a detailed original and a lighter working copy when appropriate. Generated geometry may need repair; the FixIt101 model repair guide explains inspection and cleanup, while SketchUp modeling tools can help with placement and organization.
Test the asset in a simple room before including it in a client presentation. Check clearance around doors, seating and circulation against measured dimensions. The image-to-3D output helps communicate form, but it does not supply manufacturing tolerances or construction details. Rebuild critical dimensions manually when accuracy matters.
Use a clear component name and record the source reference and generation method with the project. This makes future revisions easier, especially when a similar asset is generated in several variations. Export only the formats supported by your installed tool and confirm that texture files remain connected after moving the asset to another project.
For the next stage, send the checked asset into a small rendering scene. Review its silhouette, material scale and shadows from more than one angle. The SUAPP AIR rendering guide is a related route for concept visualization. Keep the reference, generated model and edited working version separate so you can return to a reliable stage if a later edit fails.
Inspect a generated furniture asset from several directions
Use a small furniture object as a first image to 3D test. Choose a source where the legs, main surfaces and overall silhouette are visible. A single chair or side table is easier to evaluate than a room full of overlapping furniture. Note a known dimension from the source product or your design brief before generating the asset. This dimension becomes the reference for scaling the imported object in SketchUp.
After import, place the model on a simple ground plane and save front, side, rear and top views. Look for missing supports, floating surfaces and geometry that only appears correct from the source camera angle. Inspect the underside before adding the asset to a larger interior. If an important part is incomplete, decide whether to repair it manually, generate another version or rebuild that part with standard modeling tools.
Compare the generated silhouette with the photograph at the same approximate scale. Check the relative width of the seat, height of the back, depth of the cabinet or thickness of a tabletop. The generation may provide a useful visual approximation without matching a specific manufactured object. When a clearance or product specification matters, use measured information and correct the component explicitly.
Review how materials behave under neutral lighting. Check texture stretching on curved surfaces, abrupt seams and differences between the front and rear faces. Keep the original texture files with the model when transferring it between projects. If the asset will be repeated many times, make a lighter working version and test the effect on scene responsiveness before placing every copy.
Organize the checked asset as a named component with a clear insertion point. Place that point where it is useful for the project, such as the center of a table footprint or the corner of a cabinet. Test rotation and scaling in an empty scene first. Then place one copy in the room and check its relationship to the floor, adjacent furniture and circulation routes.
Finish the image to 3D review with a short record of the source reference, the generation method and any manual corrections. Keep the generated original and the edited component separate. This helps future revisions when the reference changes or the project needs a different level of detail. Use the asset for the design purpose it has passed, and rebuild critical construction or manufacturing details from reliable dimensions when those details become necessary.